|

|
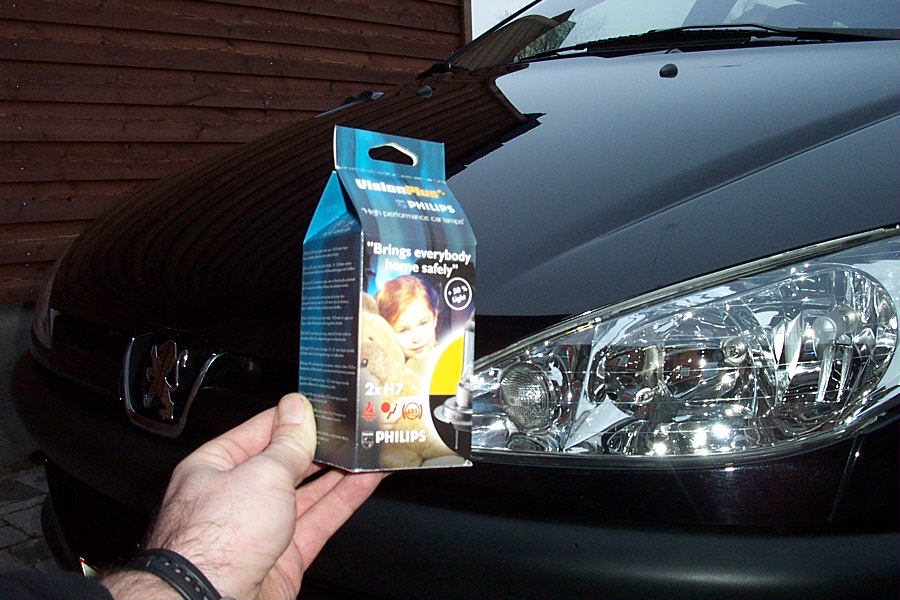
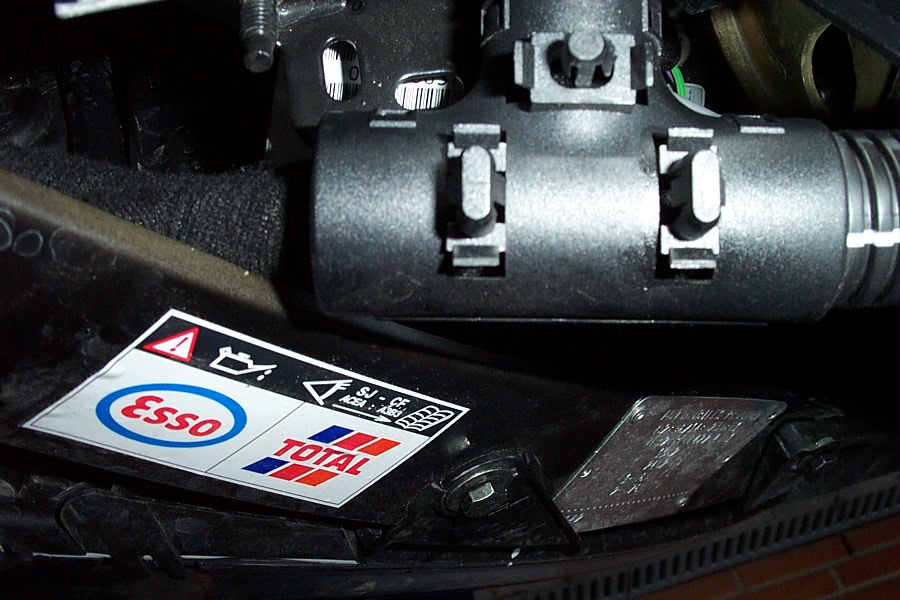
1.
This is the meaning of
it all.
A combination of new bulbs and a 206.
Open the engine bay.
|
|
|
|
|

|
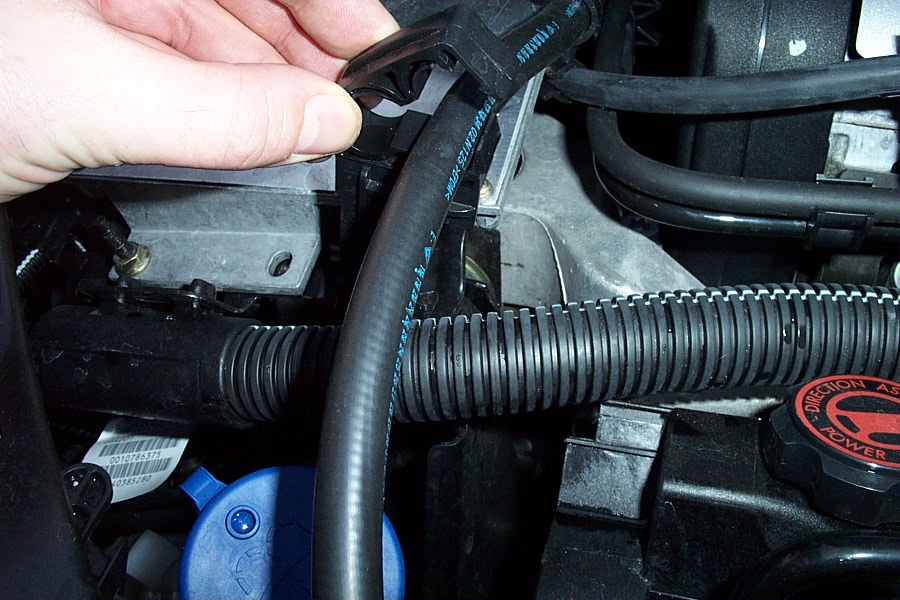
2.
Unclip the bleed-hose,
sitting over the right engine mount.
|
|
|
|
|

|
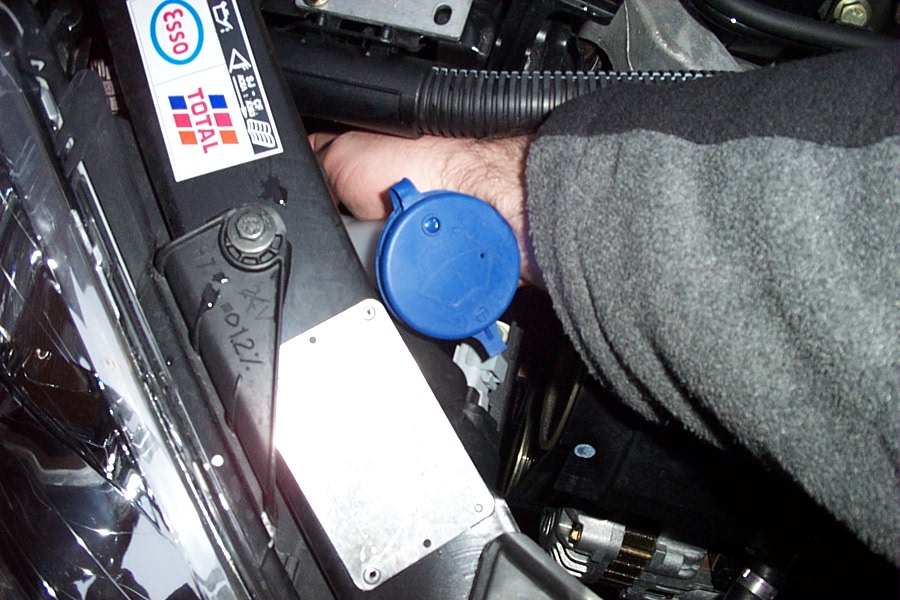
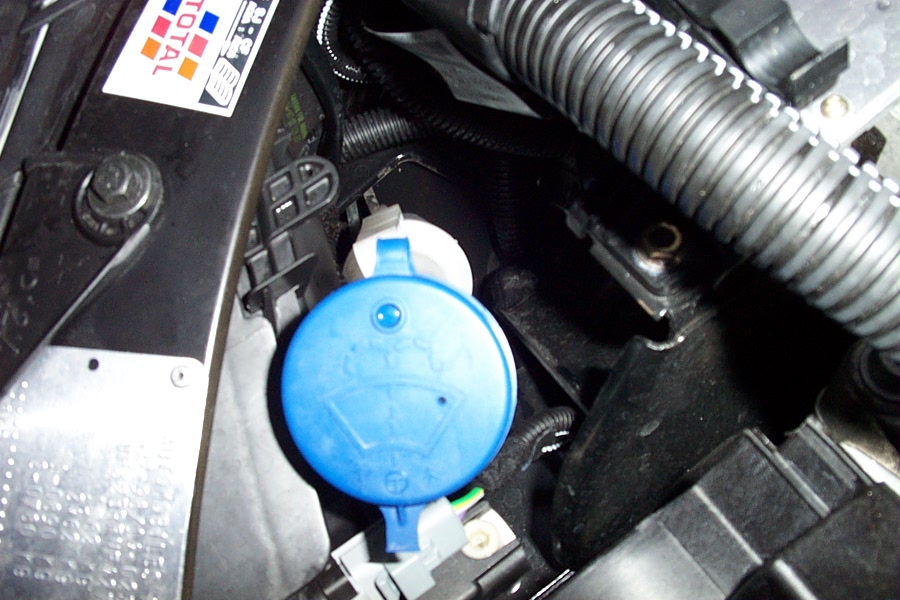
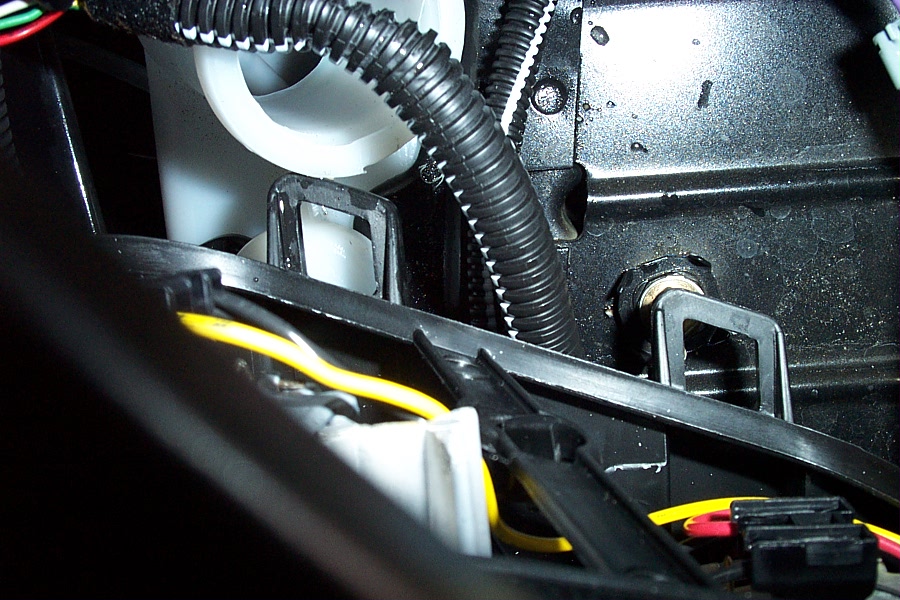
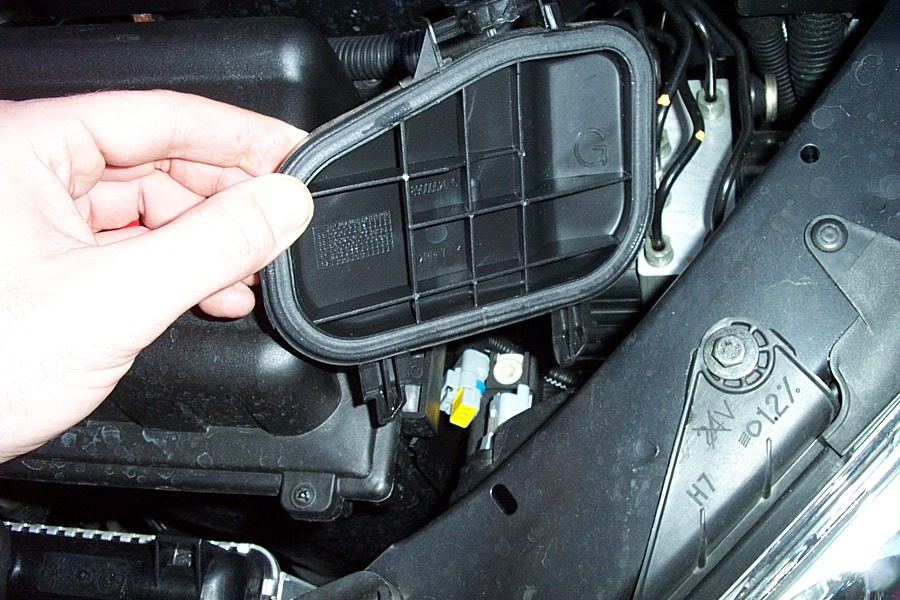
3.
To get access to the
right hand side you need to out take the filler-pipe of the wash fluid
container.
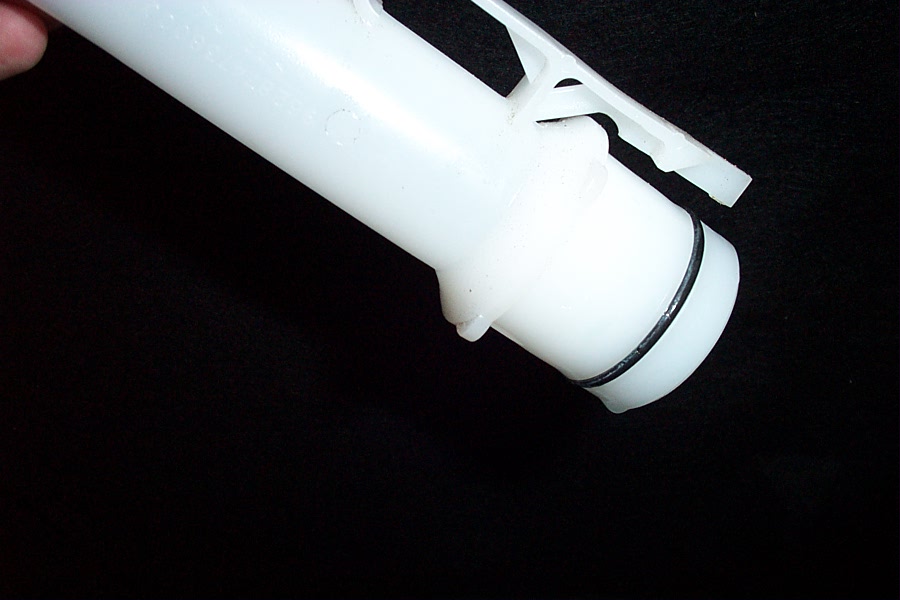
This is how it looks like when it’s out and it
explained it a bit how it is attached: It’s held down with a hook.
|
|
|
|
|

|
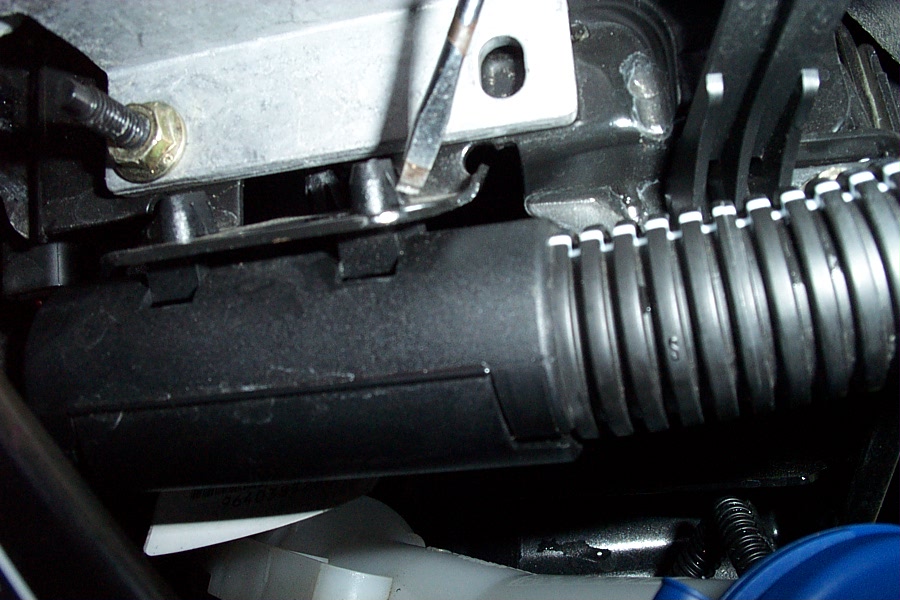
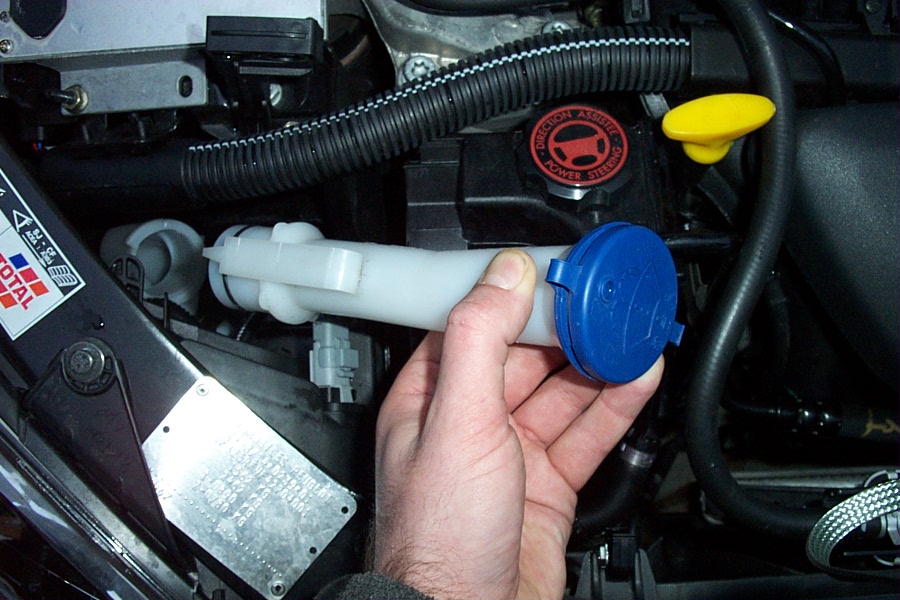
4.
It is possible to do
it like this, just grabbing down to it (it you know what you’re doing), but
if not, then you’d have to take the wire loom out of the way, which is
running from the engine to the ECU…
|
|
|
|
|

|
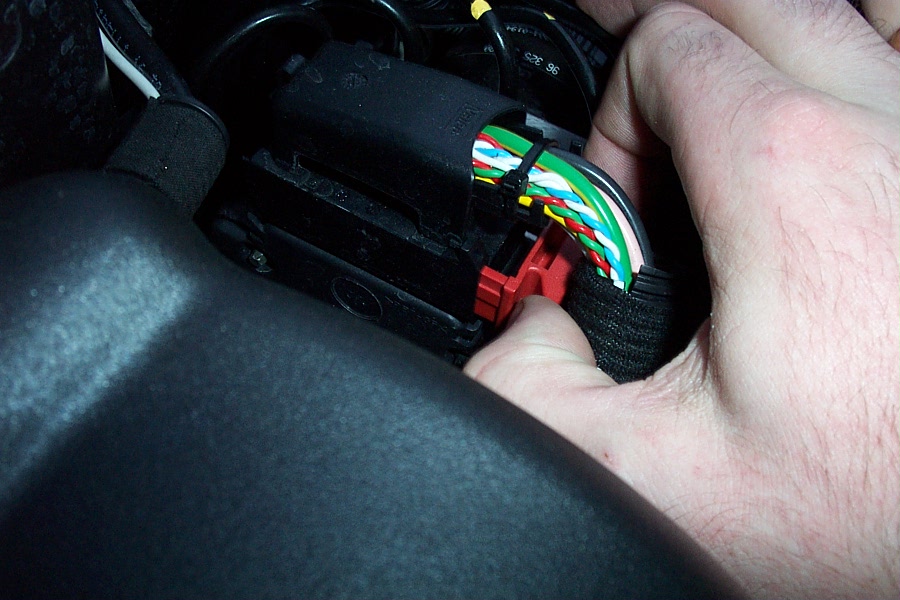
5.
…like so, by taking it
off the metal stay, situated just in front if the ECU.
Use a little screwdriver to push in the six hooks,
in order to release it…
|
|
|
|
|

|
6.
…like this, in one
piece, …
|
|
|
|
|

|
7.
…giving you a bit more
room to work.
|
|
|
|
|

|
8. Push
in the finger (see picture no.3), releasing the hook and wiggle-pull the
filler pipe towards you, out of the car.
Hint: If you want to be sure that nothing falls in
the container and clogs up the spray jets, cover the remaining hole of the
container.
|
|
|
|
|

|
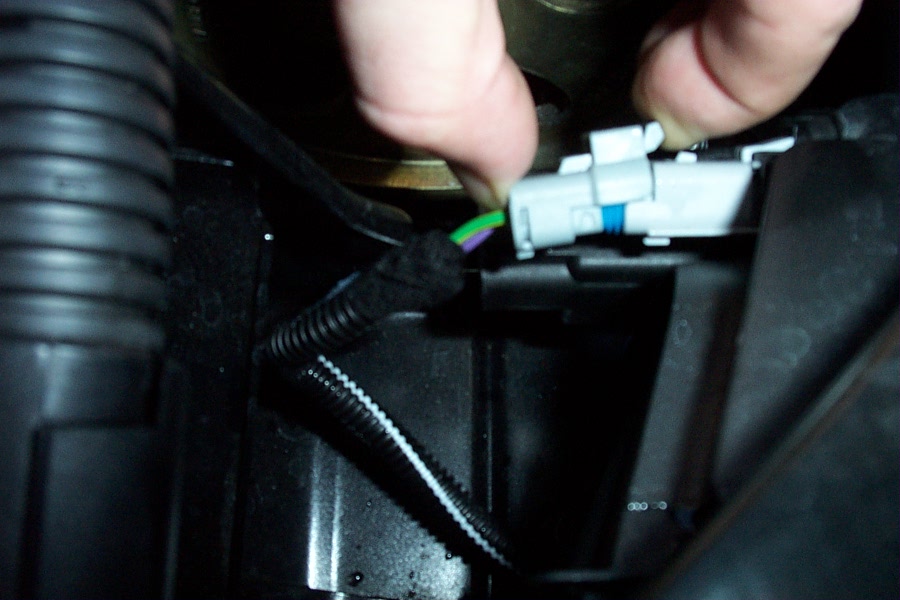
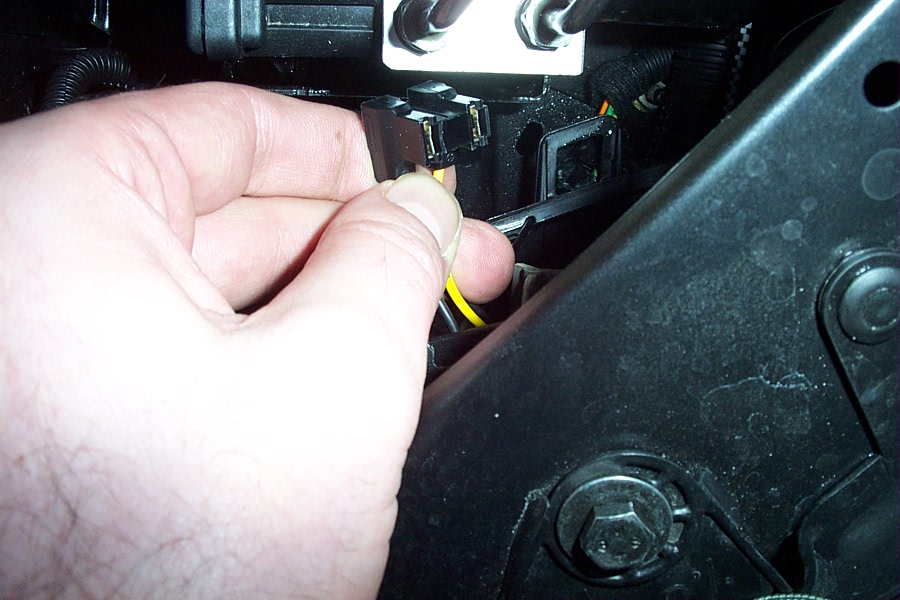
9.
Again to gain some
accessibility, unplug the connector of the right hand side indicator light.
|
|
|
|
|

|
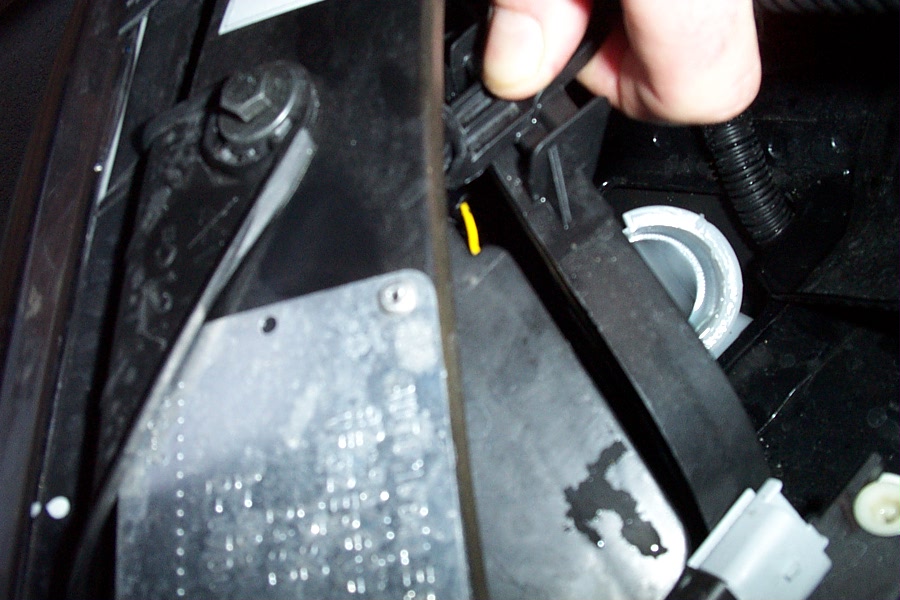
10.
Unhook the cover, by
pulling the finger on top of it upwards.
On the low end it’s simply hooked into the
headlight.
|
|
|
|
|

|
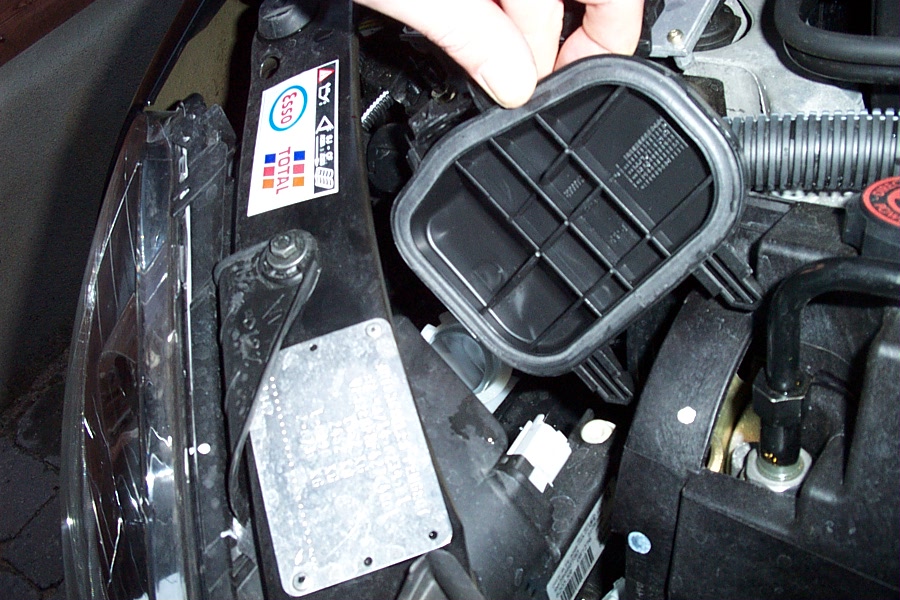
11. Take the cover off and out the car.
|
|
|
|
|

|
12. Be
careful here!
The connector of the bulb sits very tight and it’s
better to use two hands; one holding down the bulb, and the other wiggle-pull
the connector of the bulb.
This to prevent screwing up the…
|
|
|
|
|

|
13.
…wire, which is
holding down the bulb in its place.
Unhook the wire from the top and take out the bulb.
Remember how the bulb comes out of the headlight, with the cutout upwards.
Put in the new bulb. It only fits flush in one
position: with the cutout upward!
|
|
|
|
|

|
14.
Put the cover back; first
hook the cover in the low end and then on the top end.
This should go easy! If you have difficulty clipping
it tight shut, it’s not positioned right.
Grab down around the cover and assure yourself the
cover is hooked in right.
Put back the filler-pipe, the loom and the bleed
hose.
|
|
|
|
|

|
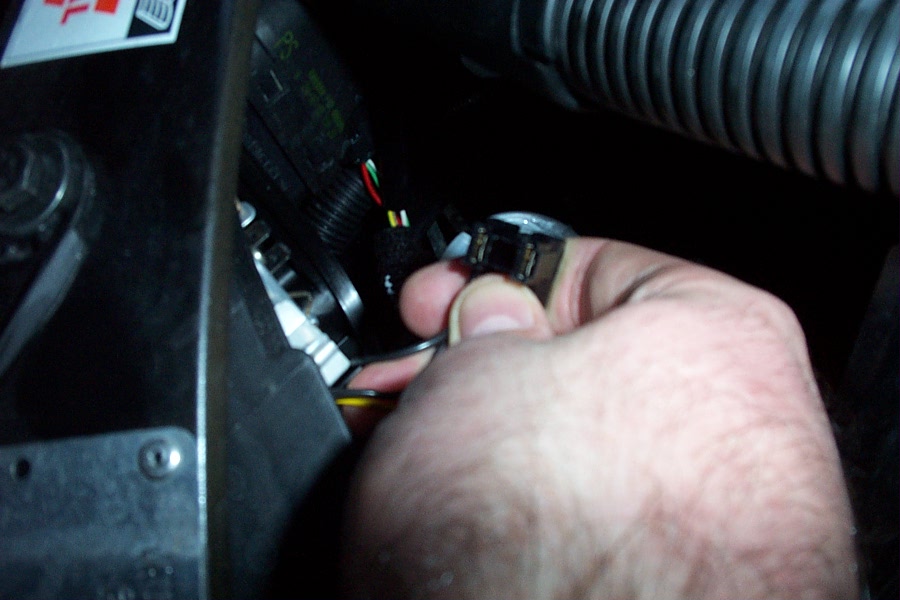
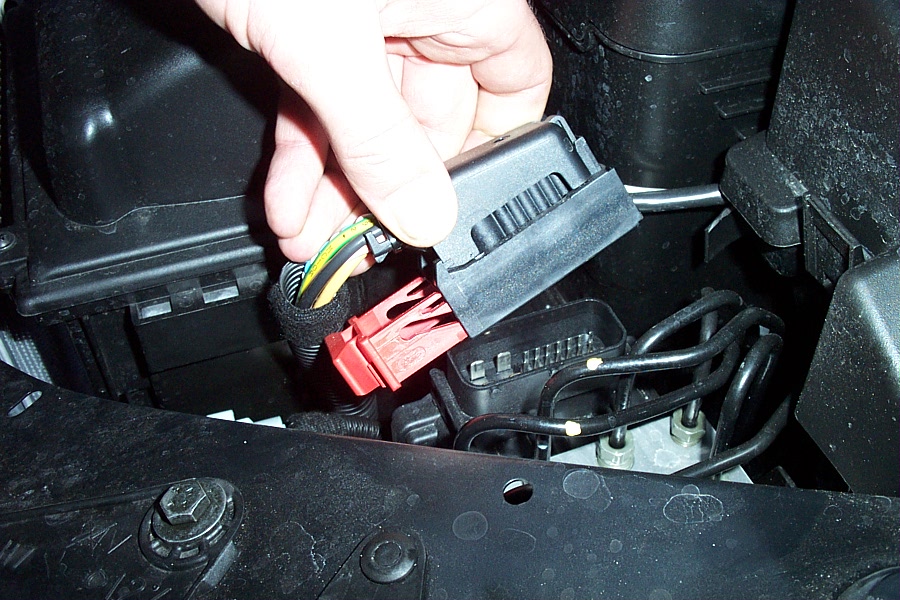
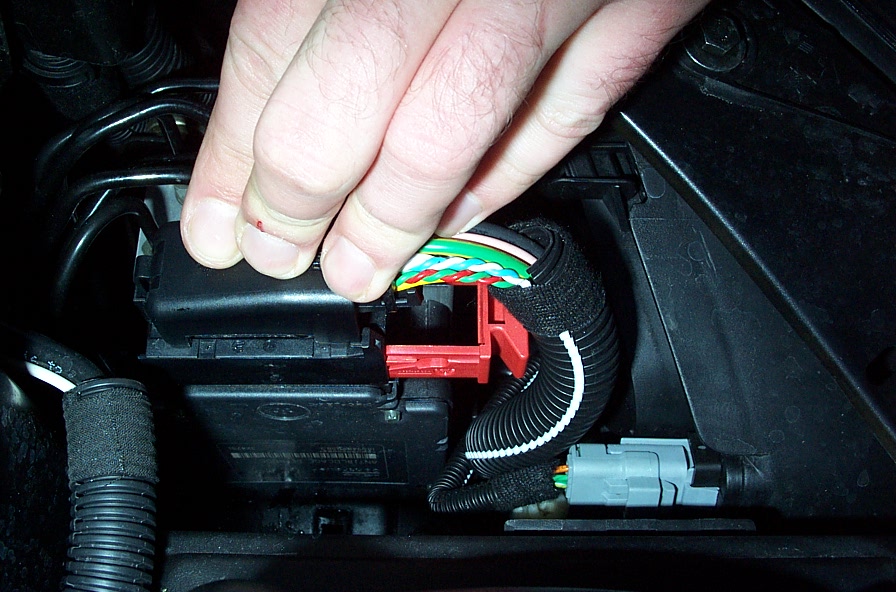
15.
Right, now the left
side. In order to gain access here you’ll have to do something “drastic”:
Take of the ABS connector. It’s not as bad as it sounds; just pull the red
slider outwards towards the front of the car and guiding the connector
upwards…
|
|
|
|
|

|
16.
…and voilá!
Stick it in-between the battery cover and the ABS
unit, just to get it out of the way.
|
|
|
|
|

|
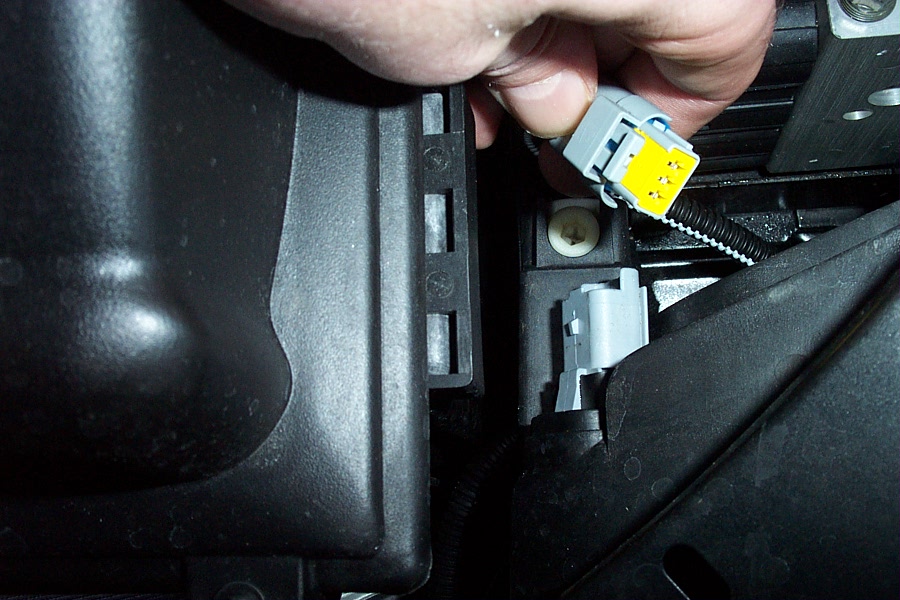
17.
Also on this side;
take off the indicator connector,…
|
|
|
|
|

|
18.
…the head light
cover,…
|
|
|
|
|

|
19.
…gently the connector
from the bulb,…
|
|
|
|
|

|
20.
…unclip the wire
holding down the bulb and change the bulb.
As a reminder: the bulb fits only in one position.
If you don’t put it in right, the picture of the beam will be screwed-up,
with big chances of blinding upcoming motorists.
|
|
|
|
|

|
21.
Refit ABS-connector:
First pull out the red slider as far as possible, position the connector back
in its place and push the slider inwards and guiding the plug towards its
final position.
|
|
|
|